
Understanding the roof replacement process can help homeowners make informed decisions and feel confident in the safety and durability of their home. A roof is one of the most important investments in any residential property, providing protection against storms, heat, and water damage.
From the initial inspection to the final cleanup, each step matters in delivering a roof that will last for decades. Knowing what to expect during a replacement can reduce stress, prevent surprises, and make sure the final result meets your expectations.
Initial Inspection and Assessment
The first step in the roof replacement process is a thorough inspection. A professional roof contractor examines the roof to assess its condition, identify damage, and determine whether replacement is necessary. This includes looking for missing or cracked shingles, leaks, water stains on ceilings, sagging areas, and signs of wear around flashing, gutters, and vents.
During this stage, the contractor also evaluates the structure beneath the roof. Any weakened decking, rotting wood, or underlying damage must be addressed to ensure the new roof is properly supported. A detailed assessment allows the contractor to provide an accurate estimate and recommend the best materials and solutions for your home.
Choosing Materials and Design
After the inspection, attention shifts to selecting materials for the new roof. Homeowners can choose from asphalt shingles, metal systems, TPO, and other premium options. Each material carries different lifespans, durability levels, and maintenance needs.
Asphalt shingles remain a popular choice for residential homes due to cost efficiency and design variety. Metal roofing delivers long-term durability, energy performance, and strong resistance to severe weather. TPO and similar systems work well for flat or low-slope roofs, combining durability with reflective properties that help reduce cooling costs.
Material selection also affects the overall appearance of the home. Experienced contractors guide homeowners toward solutions that balance performance, efficiency, and curb appeal.
Preparing the Site
Before work begins, preparation is critical for safety and efficiency. Contractors protect landscaping, driveways, and outdoor areas from debris and damage. Tarps and plywood may be used to safeguard plants, walkways, and exterior surfaces. Homeowners are often advised to move vehicles, outdoor furniture, and valuables away from the work area.
This step also includes coordinating the delivery of materials, arranging access for crews, and planning for waste disposal. Proper preparation makes sure that the project runs smoothly and reduces the risk of accidents or property damage.
Removing the Old Roof
The next phase of the roof replacement process involves removing the existing roof. This can include stripping away shingles, underlayment, flashing, and sometimes damaged decking. Removal exposes any hidden issues, such as rotting wood, leaks, or structural weaknesses, which can then be repaired before the new roof is installed.
While this stage can be noisy and dusty, professional crews work efficiently to minimize disruption. They also take care to remove all debris safely, so that nails, old shingles, and other materials do not create hazards.
Inspecting and Repairing the Deck
With the old materials removed, the roof deck undergoes a full inspection. Any weakened or damaged sections are replaced to create a stable base for the new system. A strong foundation prevents future problems such as sagging, leaks, or uneven surfaces.
This step holds particular importance in Florida, where moisture and humidity can accelerate structural wear beneath the surface.
Installing Underlayment and Flashing
The next phase in the roof replacement process includes installing the underlayment. This protective layer acts as a secondary barrier against water intrusion if outer materials become compromised.
High-quality underlayment plays a major role in regions with frequent rain and storms. It also helps protect the roof deck from moisture during installation and adds an extra layer of defense against wind-driven rain.
Flashing is installed around chimneys, vents, skylights, and roof edges to seal vulnerable areas. Proper placement helps prevent leaks and supports long-term performance. Careful sealing and alignment at joints and transitions strengthen weak points where water typically penetrates. Skilled installation at this stage improves durability and reduces the risk of future repairs.
Shingle or Material Installation
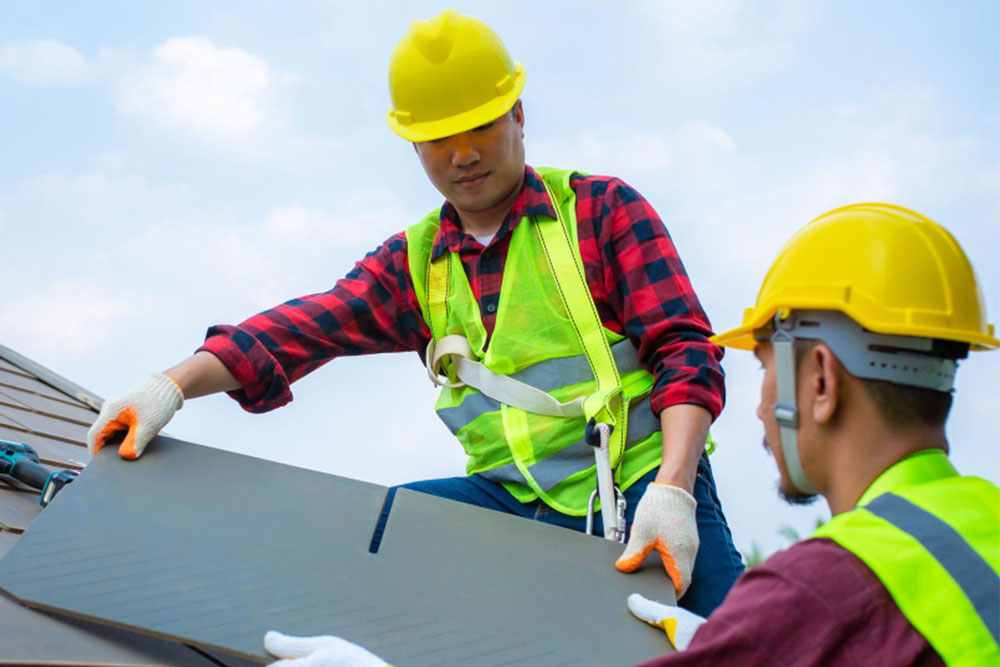
With the underlayment and flashing in place, the chosen roofing material is installed. For asphalt shingles, this involves laying and securing each row with nails and aligning them for proper water runoff. Metal roofing panels, TPO, or other materials are installed according to manufacturer specifications, often including interlocking or sealing systems that maximize durability and wind resistance.
Professional crews also make sure that roof ridges, hips, and valleys are properly treated to prevent leaks and water buildup. Proper installation is critical to avoid future problems, such as premature wear, leaks, or damage during storms. Even the highest-quality materials cannot perform optimally without expert installation.
Ventilation and Insulation
Airflow and insulation play a critical role in the overall performance of a roofing system. Proper ventilation helps stabilize attic temperatures, reduces trapped moisture, and protects roofing materials from premature wear. Insulation strengthens energy efficiency, helping maintain indoor comfort throughout seasonal changes while easing the workload on heating and cooling systems.
In Florida, where heat and humidity are extreme, these elements are particularly important. A well-ventilated and insulated roof improves comfort, reduces energy bills, and protects your home from mold, rot, and structural damage.
Final Inspection and Cleanup
Once installation is complete, the project moves into a detailed inspection phase. Contractors review the entire system to confirm proper fastening, alignment, and placement of all materials, including flashing, shingles, or panels. This step verifies that the roof meets both manufacturer standards and local building requirements.
Cleanup follows immediately after inspection. All debris, nails, and leftover materials are removed from the site, leaving the property clean and safe. A thorough cleanup not only prevents hazards but also restores the home’s overall appearance.
How US Shingle & Metal Can Help
At US Shingle & Metal, we understand that a roof replacement can feel overwhelming. From the initial inspection and material selection to installation and final inspection, our team of professionals will ensure the roof is built to last and performs reliably under Florida’s challenging weather conditions.
If you’re ready for a roof replacement you can trust, contact U.S. Shingle & Metal today to get your free, no-obligation roofing and insulation quote.