A roof replacement is a major investment, and knowing what to expect can help make the process smooth and stress-free. Whether your roof is damaged, aging, or no longer providing proper protection, understanding each step ensures you’re prepared for what’s ahead.
At U.S. Shingle, we specialize in high-quality roof replacements, and in this guide, we’ll walk you through every stage of the process—from inspection to final installation—so you know exactly what to expect.
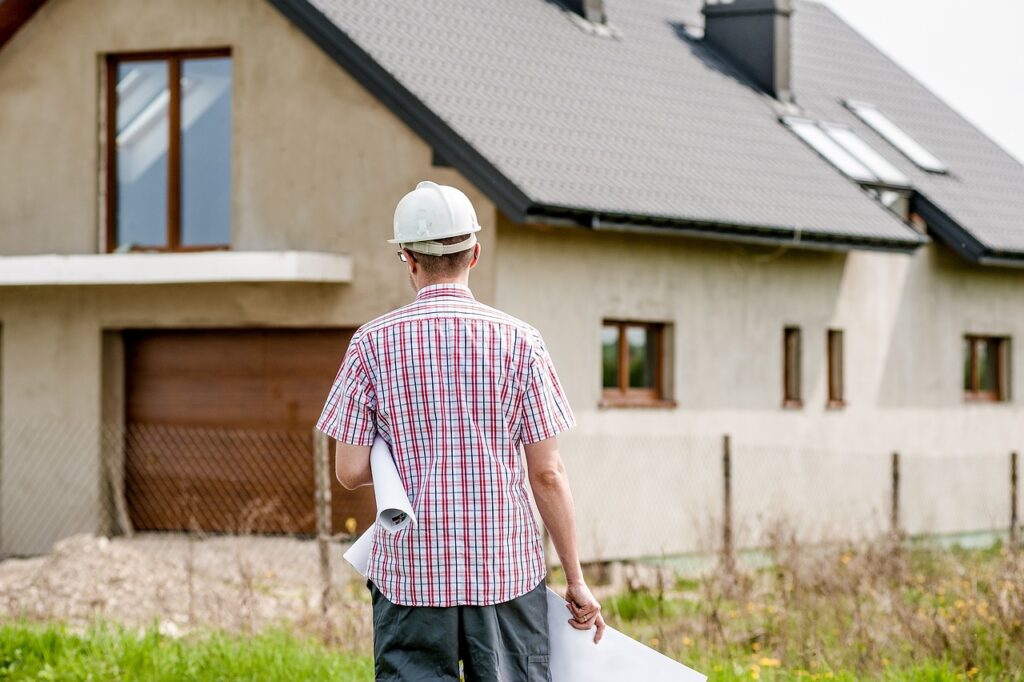
Step 1: Roof Inspection & Estimate
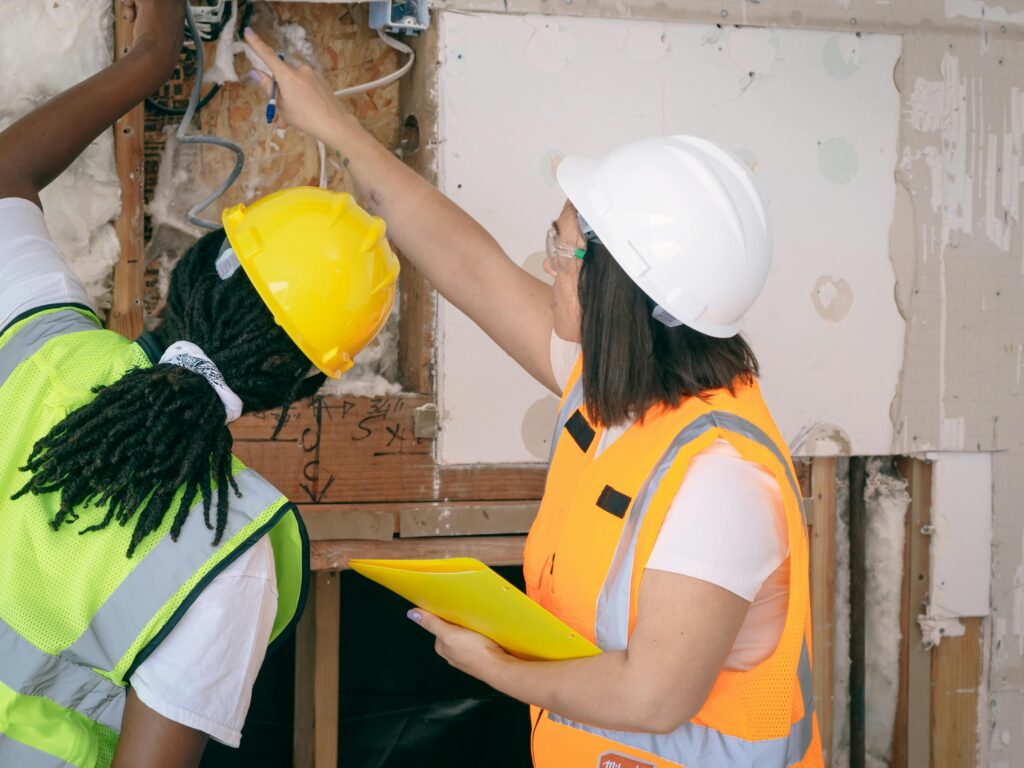
The first step is a comprehensive roof inspection to assess its condition, damage, and overall lifespan. During this phase, we:
✔ Examine shingles or roofing material for signs of wear, cracks, or missing pieces
✔ Check for water damage, leaks, and mold growth in the attic and underlayment
✔ Assess flashing, vents, and gutters to ensure proper water drainage
✔ Look for structural issues that could impact the new roof installation
💡 What You Should Do: Schedule a free roof inspection with a trusted contractor like U.S. Shingle to receive an accurate assessment and estimate.
Step 2: Choosing Your New Roofing Material
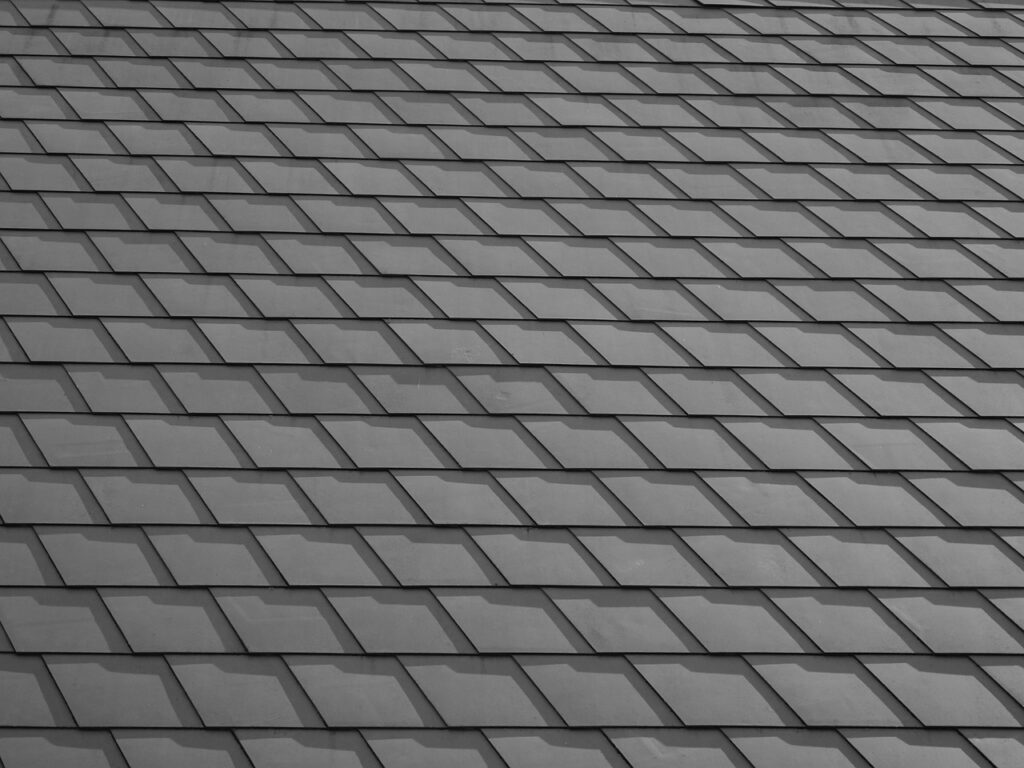
Once the inspection is complete, it’s time to select the best roofing material for your home. Your options include:
🔹 Architectural Shingles – Affordable, durable, and designed to withstand strong winds
🔹 Metal Roofing – Long-lasting, fire-resistant, and energy-efficient
🔹 Tile Roofing – Stylish, durable, and ideal for Florida’s climate
🔹 Flat Roofing (for commercial properties) – Low-maintenance and cost-effective
💡 What You Should Do: Consider factors like durability, aesthetics, and budget when choosing your new roof.
Step 3: Preparing for Roof Replacement Day

Before installation begins, a few preparations ensure a safe and efficient process:
✅ Move vehicles away from the work area to prevent dust or debris buildup
✅ Remove fragile wall decorations, as vibrations from roof work may affect them
✅ Secure pets and children indoors to ensure safety
✅ Inform neighbors so they are aware of potential noise and activity
💡 What You Should Do: Ask your roofing contractor about any additional preparations based on your property layout.
Step 4: Roof Removal & Preparation
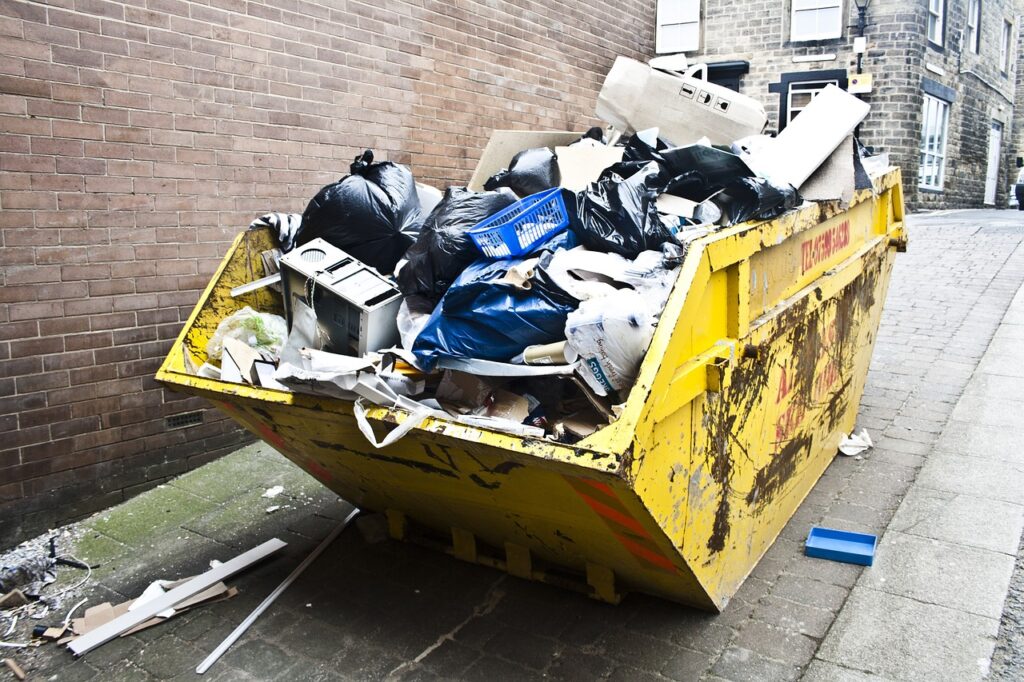
Once the team arrives, the first task is to remove the old roofing materials. This includes:
✔ Tearing off old shingles or roofing material
✔ Inspecting the underlying decking for damage or weak spots
✔ Replacing any damaged plywood or underlayment to ensure a solid foundation
💡 What You Should Do: Expect some noise and debris, but a professional roofing team will handle cleanup efficiently.
Step 5: Installing the New Roof
Now, the actual roof installation begins. This process includes:
✔ Laying down waterproof underlayment for added protection
✔ Installing the new shingles, metal panels, or roofing material
✔ Sealing flashing, vents, and ridges for leak prevention
✔ Ensuring proper ventilation to extend roof lifespan
💡 What You Should Do: Stay informed about the progress of the installation, and ask your contractor if you have any concerns.
Step 6: Final Inspection & Cleanup

Once the new roof is installed, a thorough inspection ensures everything meets quality and safety standards. This includes:
✔ Checking for proper sealing, alignment, and ventilation
✔ Cleaning up debris, nails, and old materials from your property
✔ Conducting a final walkthrough with the homeowner
💡 What You Should Do: Walk around the property with your contractor to review the final work and address any questions.
Step 7: Warranty & Maintenance Tips

After installation, your new roof comes with a warranty covering materials and workmanship. Your roofing contractor should provide guidance on maintenance, such as:
✔ Scheduling regular inspections (at least once a year)
✔ Keeping gutters clean to prevent water damage
✔ Checking for storm damage after severe weather
💡 What You Should Do: Keep your warranty paperwork and schedule routine inspections to maximize your roof’s lifespan.
Final Thoughts: A Smooth & Stress-Free Roof Replacement
Replacing your roof may seem overwhelming, but with the right contractor and preparation, it’s a smooth process. At U.S. Shingle, we provide expert roof replacements with top-quality materials, professional installation, and transparent communication.
📞 Contact us today for a free roof inspection and get started on protecting your home or business with a brand-new roof!